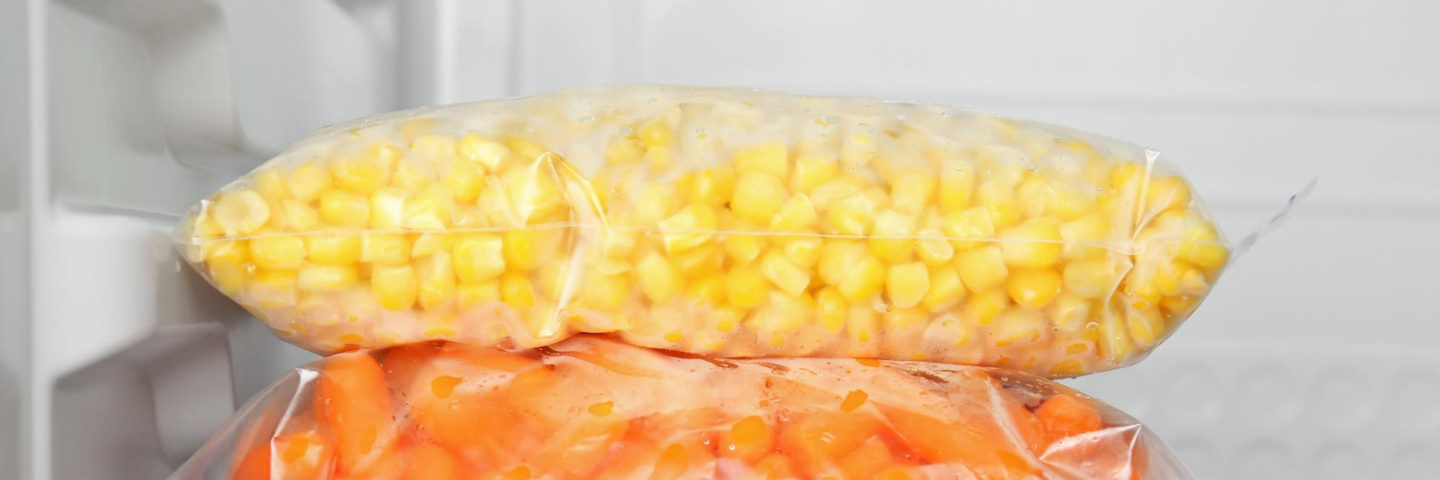
Freezing Corn 101
Summer is in full swing with a bounty of delicious sun-ripened fruits and veggies ready to be harvested and savored. Preserve the sweetness of summer by freezing seasonal favorites like corn for later use. Frozen corn is very versatile and, if prepared correctly, tastes just as delicious as fresh corn!
For taste and texture closest to fresh corn, follow these steps for freezing corn:
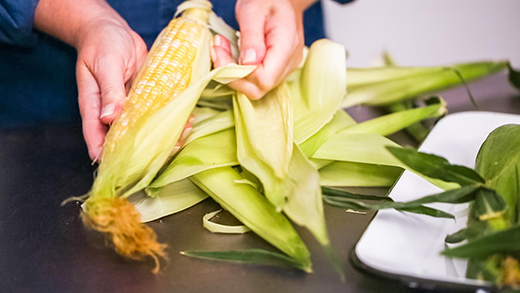
Step 1 – Shuck corn, discarding husks and silk. Use running water to remove stuck-on silk.
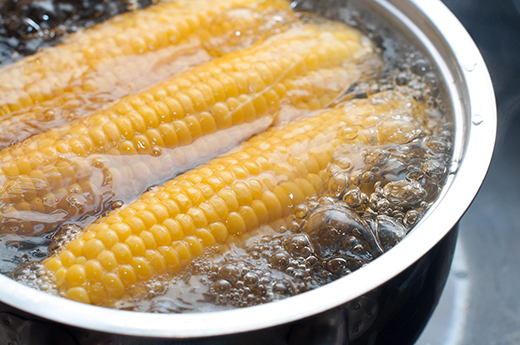
Step 2 – Blanch ears of corn in boiling water. Boil smaller diameter ears of corn for 6-8 minutes and larger diameter ears of corn for 8-10 minutes. Drain water, and cool for easier handling.
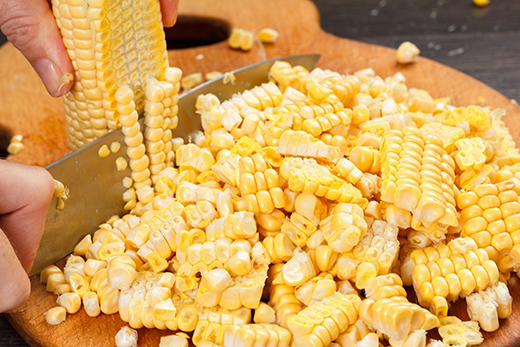
Step 3 – Cut cooled corn from cob using a serrated knife or specialized corn cutting kitchen tool.
Step 4 – Pack cut kernels into freezer-safe storage containers or bags. Remove as much air as possible if using bags. Label with the freeze date.
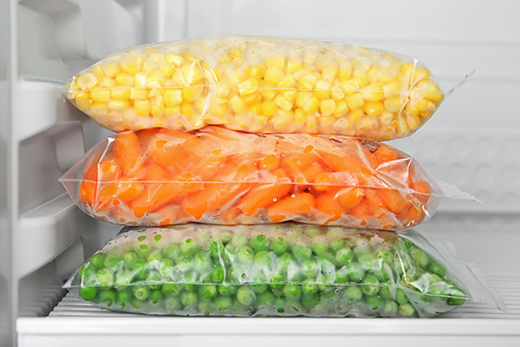
Frozen corn should be eaten within 12 months of freezing for best quality.
Let’s Get Cooking with Corn
Corn adds subtle sweetness to recipes, and its uses are virtually endless — there is even such a thing as sweet corn ice cream. Add frozen corn to soups, stews, and fresh salsas too. Sweeten salads with a sprinkle of thawed frozen corn, or sauté corn for a simple side dish. Bake frozen corn into delectable cornbreads or fry up corn fritters for a crowd-pleasing appetizer.
Roasted corn has a more caramelized flavor profile. To roast frozen corn, lightly toss in olive oil and then place kernels on a lined baking sheet. Cook at 400 degrees F until lightly browned and serve plain or use in recipes in place of fresh, frozen, or cooked corn.
Some of our favorite tried and true corn recipes are Mexican Street Corn Salad, Corn Salsa, Cheesy Corn Potatoes, and Southwestern Quinoa Salad. We think you will love them too! Frozen corn may be substituted equally for fresh and or canned corn in recipes. Fresh or frozen it’s always a great idea to Have A Plant!

